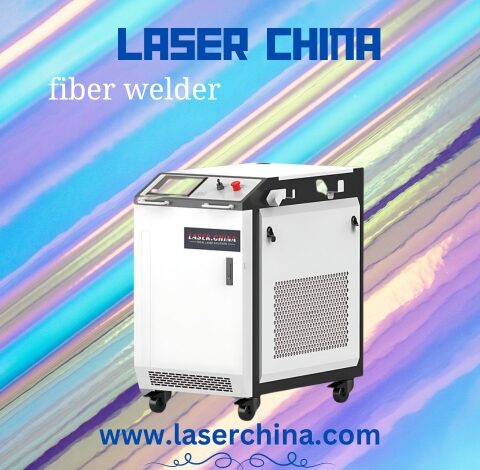
Mastering Fiber Optic Splicing: A Comprehensive Guide to Using a Fiber Welder

Fiber optic technology has revolutionized communication by enabling faster and more reliable data transmission. At the heart of this technology is the fiber optic cable, which requires precise handling and splicing. A fiber welder, also known as a fusion splicer, is an essential tool for creating seamless connections between optical fibers. This guide will walk you through the process of using a fiber welder, from preparation to execution, ensuring optimal performance and minimal signal loss.
Understanding Fiber Welding
Fiber welding, or fusion splicing, involves the joining of two optical fibers end-to-end using heat. The goal is to align the fibers so that light signals pass through with minimal loss and reflection. A fiber welder accomplishes this by melting the fiber ends and fusing them together, creating a strong and continuous connection.
Equipment Needed
- Fiber Welder (Fusion Splicer): The primary tool for the splicing process.
- Fiber Cleaver: Ensures clean and precise cuts on the fiber ends.
- Stripping Tool: Removes the protective coating from the fibers.
- Cleaning Supplies: Alcohol wipes and lint-free tissues to clean the fiber ends.
- Heat Shrink Sleeves: Protects the spliced area and provides mechanical strength.
- Optical Power Meter: Measures the signal loss to ensure splice quality.
- Fiber Holder: Stabilizes the fiber during the splicing process.
Step-by-Step Guide
1. Preparation
- Work Area Setup: Choose a clean, dust-free environment to prevent contaminants from affecting the splice quality.
- Power Supply: Ensure your fiber welder is charged or connected to a reliable power source.
- Inspection: Examine the fiber ends for any damage or dirt. Clean as necessary using alcohol wipes.
2. Stripping the Fiber
- Remove Protective Coating: Use the stripping tool to carefully remove the outer jacket, buffer coating, and cladding without damaging the core.
- Clean the Fiber: Use alcohol wipes to remove any remaining debris and contaminants from the stripped fiber.
3. Cleaving the Fiber
- Precision Cleaving: Place the stripped fiber into the fiber cleaver. Ensure a clean, perpendicular cut to minimize splice loss.
- Inspect the Cleave: Check the cleaved end under a microscope or using the splicer’s built-in inspection feature to ensure a clean, smooth end face.
4. Splicing the Fiber
- Position the Fibers: Place the cleaved fibers into the splicer’s fiber holders. Align them according to the manufacturer’s instructions.
- Align the Fibers: The splicer will automatically align the fiber cores using advanced image processing.
- Fusion Process: Initiate the fusion process. The splicer will generate an electric arc to melt and fuse the fiber ends together.
5. Protecting the Splice
- Heat Shrink Sleeve: Carefully slide a heat shrink sleeve over the spliced area before removing the fiber from the splicer.
- Heat Shrink Application: Use the splicer’s built-in heater or a separate heat gun to shrink the sleeve, protecting the splice and providing strain relief.
6. Testing the Splice
- Signal Loss Measurement: Use an optical power meter to measure the splice loss. Aim for a loss of less than 0.1 dB.
- Visual Inspection: Inspect the splice under a microscope or using the splicer’s inspection tool to ensure there are no air bubbles or imperfections.
7. Final Steps
- Documentation: Record the splice details, including location, loss measurement, and any other relevant information.
- Cable Management: Secure the spliced fiber in a splice tray or closure to protect it from physical damage.
Tips for Optimal Splicing
- Regular Maintenance: Keep your fiber welder and cleaver clean and calibrated.
- Practice: Splicing is a skill that improves with practice. Regularly train to enhance your technique.
- Quality Supplies: Use high-quality consumables like cleaver blades and heat shrink sleeves for consistent results.
Mastering the use of a fiber welder is crucial for ensuring the reliability and efficiency of fiber optic networks. By following this guide and adhering to best practices, you can achieve high-quality splices with minimal signal loss, ensuring robust and high-performance fiber optic connections.


